Introduction
Running a restaurant in Nashville is not just about delivering mouth-watering dishes; it’s also about maintaining a clean and safe kitchen environment. One essential aspect of keeping your commercial kitchen in top shape is regular hood cleaning. While it might seem daunting, with the right steps, you can actually handle the cleaning yourself. This comprehensive guide will walk you through each step to ensure your kitchen hood is spotless and safe.
Why Hood Cleaning is Crucial
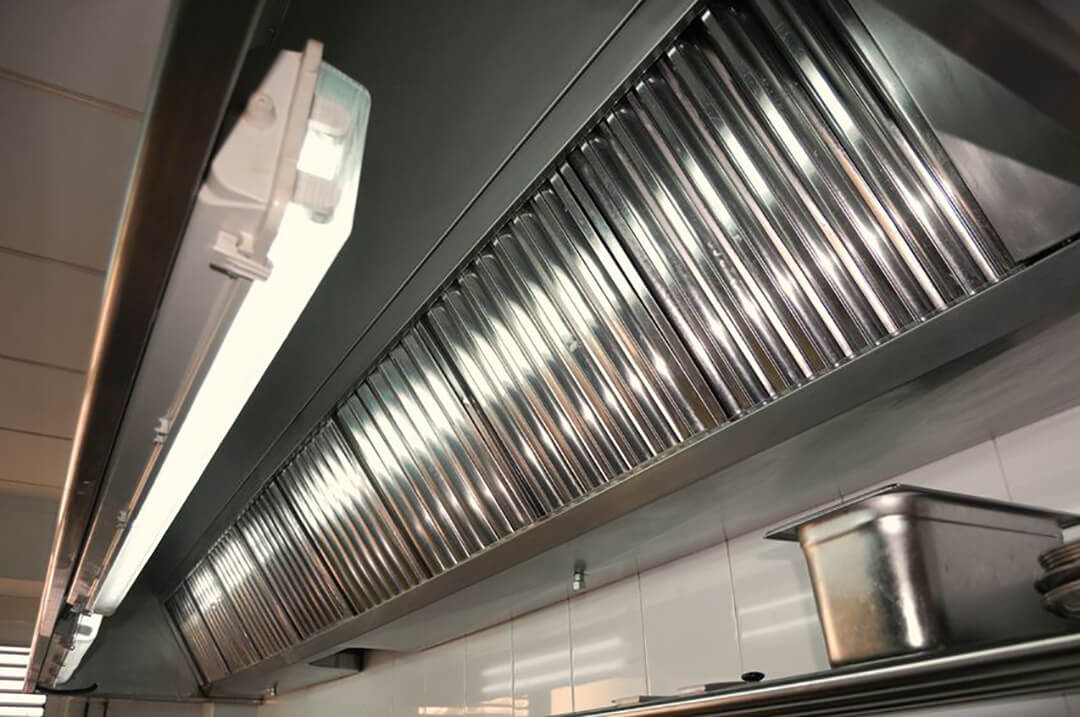
Before diving into the DIY hood cleaning steps, it’s important to understand why this task is vital. Grease and grime from cooking accumulate over time in your kitchen hood, posing significant fire hazards if not cleaned regularly. Proper restaurant hood cleaning helps to prevent such risks, ensures compliance with health and safety regulations, and improves the efficiency of your kitchen exhaust system.
Preparing for Hood Cleaning
Preparation is key to a successful commercial kitchen hood cleaning. Here are the materials and tools you’ll need:
- Plastic covers or drop cloths to protect kitchen surfaces
- Protective gloves and goggles for safety
- Degreasing solution appropriate for commercial kitchens
- Scrub brushes and scrub pads
- Rags or paper towels
Before you start, make sure all cooking appliances are turned off and the kitchen is well-ventilated.
Step-by-Step Guide to DIY Hood Cleaning
Step 1: Disconnect the Power
Safety first! Disconnect the power supply to the hood system to avoid any electrical hazards. If your hood has halogen lights, make sure they have cooled down before proceeding.
Step 2: Remove the Filters
Most kitchen hoods have removable filters. Carefully take them out and place them in hot water mixed with a degreasing solution. Allow them to soak while you tackle the rest of the hood.
Step 3: Cover the Area
Use plastic covers or drop cloths to protect surfaces around the hood. Grease and cleaning solution can easily splatter, so it’s best to cover the stovetop and surrounding areas.
Step 4: Apply Degreaser
Spray a commercial kitchen-grade degreaser onto the interior of the hood, including the fan blades, ducts, and the interior surfaces. Allow the solution to sit for a few minutes to break down the grease.
Step 5: Scrub Away the Grime
Using scrub brushes and pads, scrub away the grease and buildup. Be thorough, as grease can hide in the corners and crevices. Rinse your brushes frequently to remove accumulated grime.
Step 6: Wipe Down Exterior
Don’t forget the exterior of the hood. Wipe it down with a degreasing solution and use a soft cloth or sponge to prevent scratching the surface. Rinse with clean water and dry with a towel.
Step 7: Clean the Filters
Return to your soaking filters and scrub them using a brush to remove grease. Rinse them well with hot water and allow them to dry completely before reinstalling.
Step 8: Reassemble and Reconnect
Once everything is clean and dry, reassemble the filters and reconnect the power supply. Switch on the hood to ensure everything is working properly.
Maintaining a Clean Hood
Regular maintenance goes a long way in keeping your exhaust hood cleaning tasks manageable. Here are some tips for maintaining a clean hood:
- Clean the exterior of the hood weekly to prevent grease buildup.
- Degrease the filters every month or more frequently if your kitchen has high grease production.
- Schedule a professional Nashville Hood Cleaning Pros service at least twice a year for a thorough cleaning and inspection.
Conclusion
While professional Nashville services like Nashville Hood Cleaning Pros are invaluable, knowing how to perform DIY hood cleaning can save you time and money, ensuring your restaurant remains safe and operational. Regular, thorough cleaning will help you maintain a safe kitchen environment and ensure compliance with health regulations. If you ever need expert help, don’t hesitate to contact the Nashville Hood Cleaning Pros for their expertise and professional services.


